

When considering sod installation over existing grass, especially in areas like Ennis, TX, it’s crucial to take the necessary preparatory steps to ensure successful sod establishment. Proper preparation can prevent common issues such as poor root integration and uneven growth. Below are comprehensive steps you should follow to prepare your lawn for sod installation.
Assessing and Testing Soil Quality
Before starting the sod installation process in Ennis, TX, it’s essential to evaluate the quality of your existing soil. Conducting a soil test can provide valuable insights into its nutrient content and pH levels. Soil tests are readily available and can help determine if any amendments are needed. For instance, if your soil lacks essential nutrients like nitrogen, phosphorus, or potassium, you can incorporate the appropriate fertilizers to create an ideal growing environment for the new sod.
In addition to nutrient levels, consider the soil texture and drainage capabilities. In areas with compacted soil or poor drainage, you may need to take additional steps to improve the soil structure. This could involve aeration to alleviate compaction and the addition of organic matter to enhance soil health and drainage. Proper soil preparation is vital to ensure that the sod can establish strong roots and thrive in its new environment.
Skipping soil testing and amendment can lead to several problems down the line. Poor soil conditions can result in weak sod growth, patchiness, and increased vulnerability to pests and diseases. By taking the time to assess and improve the soil quality before sod installation, you can set a solid foundation for a healthy and lush lawn.
Removing Existing Grass
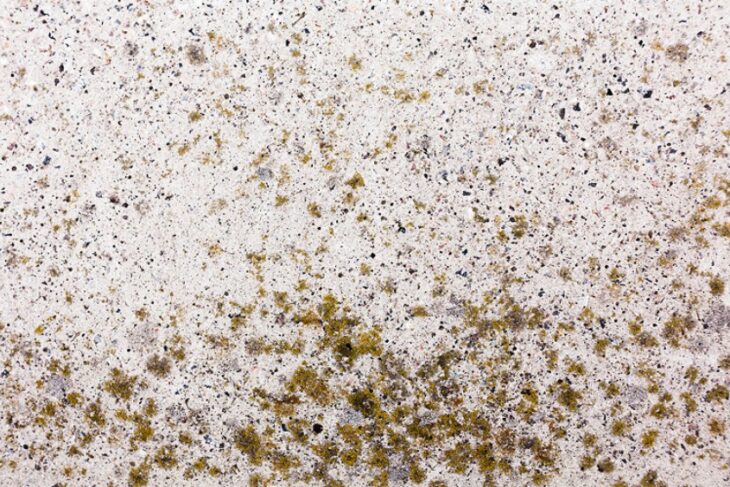
One of the most critical steps in sod installation Ennis, TX, is removing the existing grass. While it might be tempting to lay sod directly over the existing lawn, this approach often leads to poor results. The existing grass can create a barrier that prevents the new sod from establishing proper root contact with the soil beneath. Additionally, the old grass can compete with the new sod for nutrients and water, leading to uneven growth and potentially causing the new sod to fail.
There are several methods to remove existing grass, each with its pros and cons. One common method is using a sod cutter to physically remove the old grass and its root system. This method is effective but labor-intensive and may require renting equipment. Another approach is to use a non-selective herbicide to kill the existing grass, followed by removing the dead grass. This method requires careful application and time for the herbicide to work effectively.
Regardless of the method you choose, ensure that you remove as much of the old grass and its root system as possible. This step is crucial to provide a clean slate for the new sod to establish. Failing to remove the existing grass can lead to a bumpy lawn and poor sod growth, negating the effort and expense of the sod installation process.
Preparing the Soil Bed
Once the existing grass is removed, the next step is to prepare the soil bed for the new sod. Start by tilling the soil to a depth of about 4-6 inches. Tilling helps to break up compacted soil, improve aeration, and create a loose, friable soil structure that facilitates root penetration. After tilling, rake the soil to remove any debris, rocks, or large clumps of soil.
After raking, level the soil surface to create a smooth and even bed for the sod. Uneven surfaces can lead to poor sod contact with the soil, resulting in dry spots and uneven growth. Use a lawn roller to firm the soil surface lightly. This step helps to eliminate air pockets and ensures good contact between the sod and the soil.
Incorporating organic matter, such as compost, into the soil can further enhance its quality. Organic matter improves soil structure, increases moisture retention, and provides essential nutrients that support healthy sod growth. Spread a layer of compost over the soil and mix it in thoroughly before laying the sod.
Watering and Fertilization
Proper watering and fertilization are essential for the successful establishment of new sod. Before laying the sod, ensure that the soil is adequately moist but not waterlogged. Water the soil lightly a day before sod installation to provide a good base moisture level. This helps the sod roots to establish quickly and reduces the risk of transplant shock.
Once the sod is laid, water it immediately to help settle the sod and promote root-to-soil contact. For the first two weeks, water the sod daily to keep it consistently moist. Gradually reduce the frequency of watering as the sod begins to establish roots. Consistent moisture is crucial during the initial establishment period to encourage deep root growth.
In addition to watering, consider applying a starter fertilizer to provide essential nutrients for the new sod. A balanced fertilizer with a higher phosphorus content can promote root development and help the sod establish quickly. Follow the manufacturer’s recommendations for application rates and timing to avoid over-fertilization, which can damage the new sod.
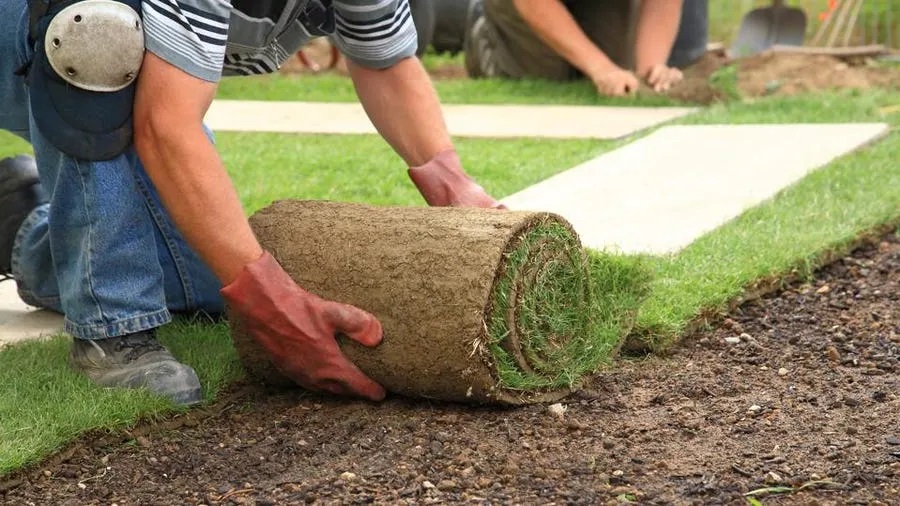
Laying the Sod
The process of laying sod requires careful planning and execution to ensure proper alignment and contact with the soil. Start by laying the sod along a straight edge, such as a driveway or sidewalk, and work your way across the lawn. Stagger the seams of the sod pieces, similar to laying bricks, to avoid creating continuous seams that can dry out and cause gaps.
As you lay each piece of sod, press it firmly into the soil to ensure good contact. Avoid stretching the sod, as this can create gaps and lead to uneven growth. Use a sharp knife to trim the sod around obstacles such as trees, flower beds, or sprinkler heads. After laying the sod, roll it with a lawn roller to eliminate air pockets and ensure good soil contact.
During the installation process, avoid walking on the newly laid sod as much as possible. Foot traffic can cause uneven settling and disrupt the sod’s contact with the soil. If you need to walk on the sod, use plywood boards to distribute your weight and minimize damage.
Post-Installation Care
After the sod is installed, proper post-installation care is crucial to ensure its successful establishment. Continue to water the sod regularly to keep the soil consistently moist. Adjust the watering schedule based on weather conditions, reducing the frequency as the sod establishes deeper roots. Avoid overwatering, as this can lead to root rot and other issues.
Monitor the sod for signs of stress, such as wilting or discoloration, and address any problems promptly. Weed control is also important during the establishment period. Keep an eye out for any weeds that may emerge and remove them promptly to prevent competition with the new sod.
Fertilize the sod as needed to provide ongoing nutrients for healthy growth. Follow a regular fertilization schedule based on the recommendations for your specific grass type. Proper fertilization supports robust root development and ensures that the sod establishes a healthy, vibrant lawn.
Maintenance and Long-Term Care
Maintaining your new sod involves regular care practices to keep it healthy and lush. Mow the sod for the first time when it reaches a height of about 3-4 inches. Set your mower to a high setting to avoid cutting too much of the grass blades at once. Gradually lower the mowing height over subsequent mowings to reach the recommended height for your grass type.
Continue to follow a consistent watering and fertilization schedule to support ongoing growth. Aerate the lawn annually to alleviate soil compaction and promote root growth. Additionally, overseeding and topdressing can help maintain the lawn’s density and improve its overall health.
By following these steps and maintaining proper care practices, you can ensure that your sod installation Ennis, TX, is successful and results in a beautiful, healthy lawn. Taking the time to prepare the soil, remove existing grass, and provide adequate water and nutrients will pay off in the long run, giving you a lush, green lawn to enjoy for years to come.