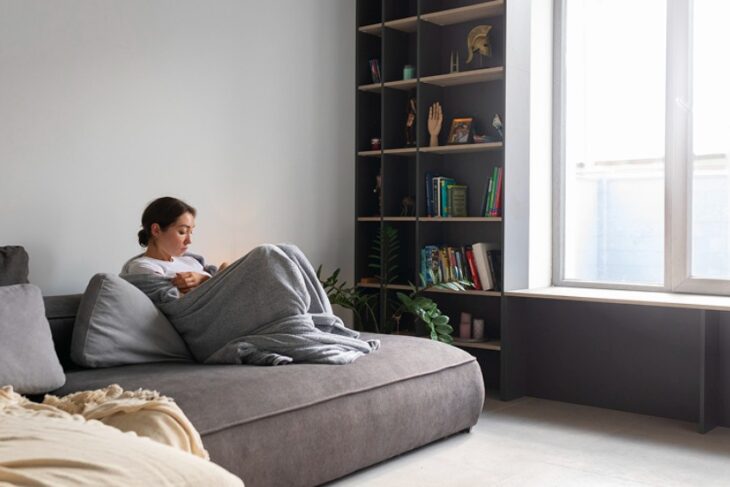


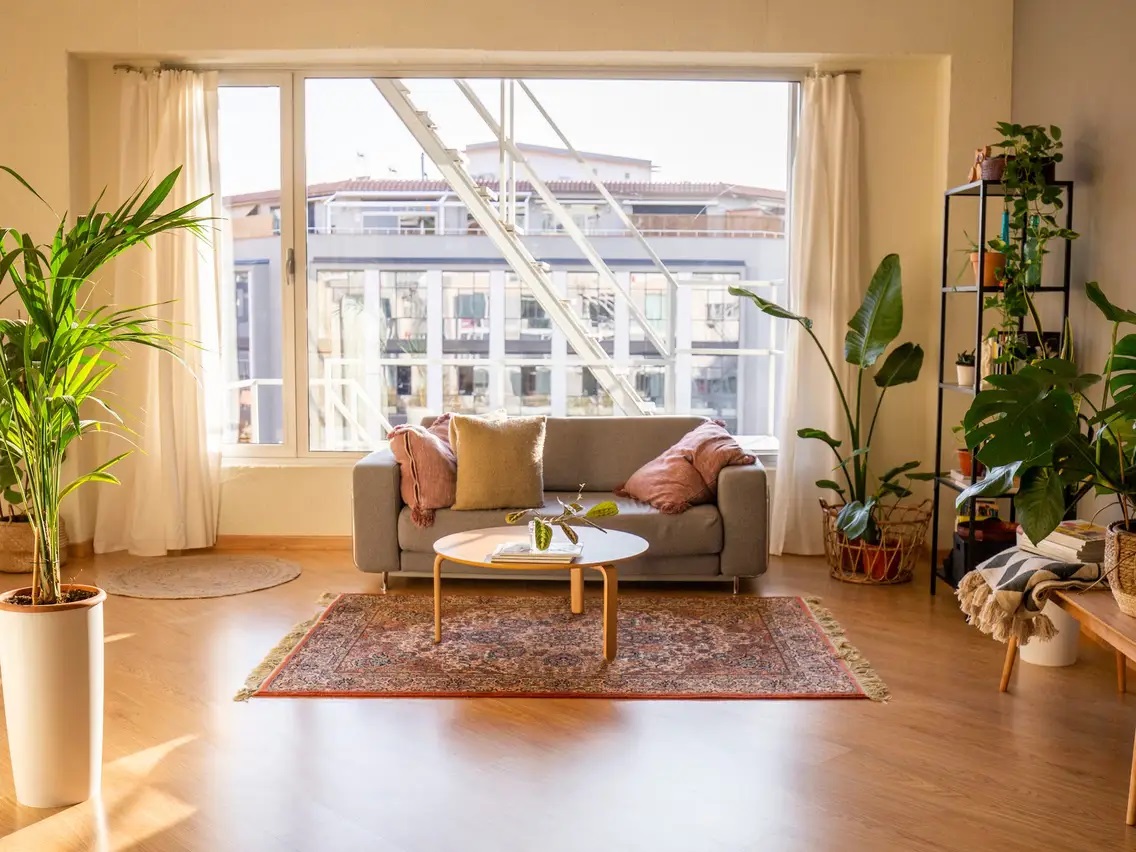
Sound absorbing panels are an great solution for noise, echo control and sound quality of many places like home theaters or recording studios to offices etc. In a similar vein, strategically placing acoustic panels for walls can effectively reduce noise pollution and improve overall acoustic quality within a space.
1. Identify Problem Areas
Where in the room most necessary to absorb sound should you identify before installing it. For example walls facing sound sources or working station, and large surfaces which makes reflection wave easily bounce. Corners are likewise vital because they will usually act like sub woofer for low frequencies. First, perform a complete acoustic evaluation to locate them.
2. Calculate Coverage
Find out how may panels need in a room to get acoustic effect as per requirement. For general sound absorption, you should be covering 15-25{45fef0f19aec1fb6c534149e98c543c661abab082d9fdb44fd6dfb451b04e370} of the room surface area. In more acoustically challenging environments- recording studios for example – this may need to be 50{45fef0f19aec1fb6c534149e98c543c661abab082d9fdb44fd6dfb451b04e370} or even greater.
3. Choose the Right Panels
Choose the right sound absorbing panels for you The panels differ in material, thickness and design. Thicker panels (2-inches or thicker) will do better at absorbing lower frequencies, and thinner ones work well enough for higher tones. Be sure to also think of aesthetics to find colors or styles that match with the room.
4. Plan the Layout
Careful detailing of the panel layout is essential, to get effective sound absorption. Placing panels at the first reflection points will help greatly. Put a mirror on the wall to show where you can see the speakers from your listening spot and at each point this is visible make one panel. Also consider adding panels to the ceiling, especially if a room has high ceilings that will produce vertical sound reflections.
5. Proper Mounting Techniques
Use proper hardware to mount the panels securely. To affix to walls there are adhesive strips or mounting brackets for fixings. Ceiling panels may need stronger mounting solutions, like T-bars or suspension wires. Be sure to follow the manufacturers instructions when mounting for stability and effectiveness.
6. Test and Adjust
And if you are already fixing the panels, then see how they affect room acoustics. Play various types of sounds and look for better clarity; decreasing echos. Move the panels or add more to address further problematic areas, if needed. It might take a bit of trial and error to find the right mix.
The installation of sound-absorbing panels, such as acoustic panels for walls, is not as difficult on paper as it may seem, but it requires very responsible and accurate project documentation.